

The concealing project involves hiding or masking piping and wiring within a room’s finished surfaces. This can be done through various techniques such as painting over the pipes with colorful murals or using materials like drywall tape or plastic wrap to cover the exposed pipes. It’s worth noting that while concealing pipes may seem like a simple solution to hiding ugly lines and cables, it can have some drawbacks. For example, if you choose to paint over a pipe instead of covering it completely, you may end up with an uneven or unpredictable painted look. Additionally, if you use drywall tape or other methods to conceal pipes, there may still be visible seams where the tape meets the wall. Overall, whether or not to conceal pipes in a home depends on personal preference and the specific design elements of the space. If you want a more modern or minimalist look, concealed pipes could be a good choice. However, if you prefer a more traditional or rustic feel, revealing pipes might work better for you.
- Concealments for doors and windows (including door handles)
- Concealings for electrical wiring and plumbing pipes
- Decorative moldings and trim around doors and windows
- Wall coverings to hide electrical boxes and other equipment
- Flooring concealments to avoid tripping hazards
- Furniture placement to minimize the visibility of wires or pipes
Plastic-aluminum composite, plastic steel and PPR pipes are gradually being replaced due to their excellent plasticity, toughness, and thermal insulation properties. These pipes have fewer disadvantages compared to galvanized pipes, such as rusting, scaling, lack of insulation, and causing freezing cracks. They also offer better quality assurance with special joints or thermoplastic joints available, lower energy consumption, and are easier to install and maintain.
As part of any residential construction project, electrical plumbing wiring is an essential aspect that cannot be overlooked. Proper wiring not only ensures the safety of its occupants but also contributes to the overall aesthetics of the house. However, with such diverse options available, it can be challenging to choose the right materials and services. This guide aims to help homeowners navigate through this process by discussing the common types of power lines, sockets, and wires used in electrical plumbing. Hard Wire The most basic type of power line is made up of hard wire or solid copper wire. It is available in various gauges depending on the requirements of the circuit. Hardwire is commonly used for single-phase circuits and is suitable for low-voltage applications like lights and appliances. Soft Wire In contrast to hard wire, soft wire is composed of twisted strands of copper and insulation material. It offers better conductivity than hard wire and is suitable for higher-voltage applications like motors and transformers. The wire is also less prone to breakage and is easier to handle during installation. Sheath Wire Another important component of electrical plumbing wiring is the sheath wire, which serves as an outer layer to protect the inner wires from damage. It is typically made of galvanized steel and provides additional durability against corrosion. Sheath wire is commonly used around hard wire to prevent abrasion and wear caused by touching metal. Cabling refers to the insulated copper wire used to connect different electrical system components. Cable size is determined by its ability to carry current safely and efficiently without overheating. Common cable sizes include RG-86, STP-87, and UTP-85 connectors. These cables come pre-rated with their respective gauge sizes, making them easy to use.
Laying a composite floor involves several steps that must be followed carefully to ensure a strong and durable finished product. Here’s an overview of each step:
- Preparation: Before starting any work on the concrete floor, it should be cleaned thoroughly to remove any loose debris or contaminants. This will help prevent damage to the concrete surface during installation.
- Leveling: If you’re using pre-made composite flooring panels, you’ll need to install them on top of a level concrete base. You can use a combination of screws and nails to secure the panels in place. Make sure to remove any excess material around the edges of the panels before installing them.
- Sealing: After the composite flooring is installed, apply a sealant to protect the surface from water damage and staining. This will keep the flooring clean and looking new for longer.
- Sanding: If necessary, we sand the composite flooring to achieve a smooth, even finish. This will improve the overall appearance of the room and make it easier to clean.
- Painting or staining: Choose a color for your new composite flooring and follow the manufacturer’s instructions for painting or staining the surface.
Method for installing wainscoting, which is a type of paneling that covers the lower portion of a wall. The wainscoting is created using wooden profiles, such as 30mm x 40mm boards, which are attached to the wall surface. Multi-layer board or joinery board is then nailed to the wooden profile, and finally, decorative plywood is added to complete the look. To prevent mildew, air holes are drilled into the top of the retaining wall panels.
To cover the bottom floor of doors and windows, you can follow these steps:
- Set up steel profiles: Choose sturdy steel frames that are compatible with your window or door type. These can be purchased at a hardware store or home improvement center. Install them on the inside of each opening using screws or brackets. Make sure they fit snugly against the existing frame and do not obstruct any air circulation.
- Nail joining board: Cut 1/4″ thick plywood to size for the bottom floor. Apply glue along the edges and attach it to the steel frame using nails driven into the wall studs behind the door or window. This will provide a flat surface for painting or covering with other materials. Be sure to leave enough space between the joinery board and the surrounding walls so there is no obstruction to airflow.
- Cover with decorative plywood: Once the base is installed, apply a layer of 3/8″-thick decorative plywood over top. Use a router or saw to create a smooth edge around the base’s perimeter. This will help protect the wood from scratches and damage while also providing an attractive finish. Smooth out any rough spots or uneven surfaces with a putty knife or sandpaper. Allow the first coat of paint to dry completely before applying another layer.
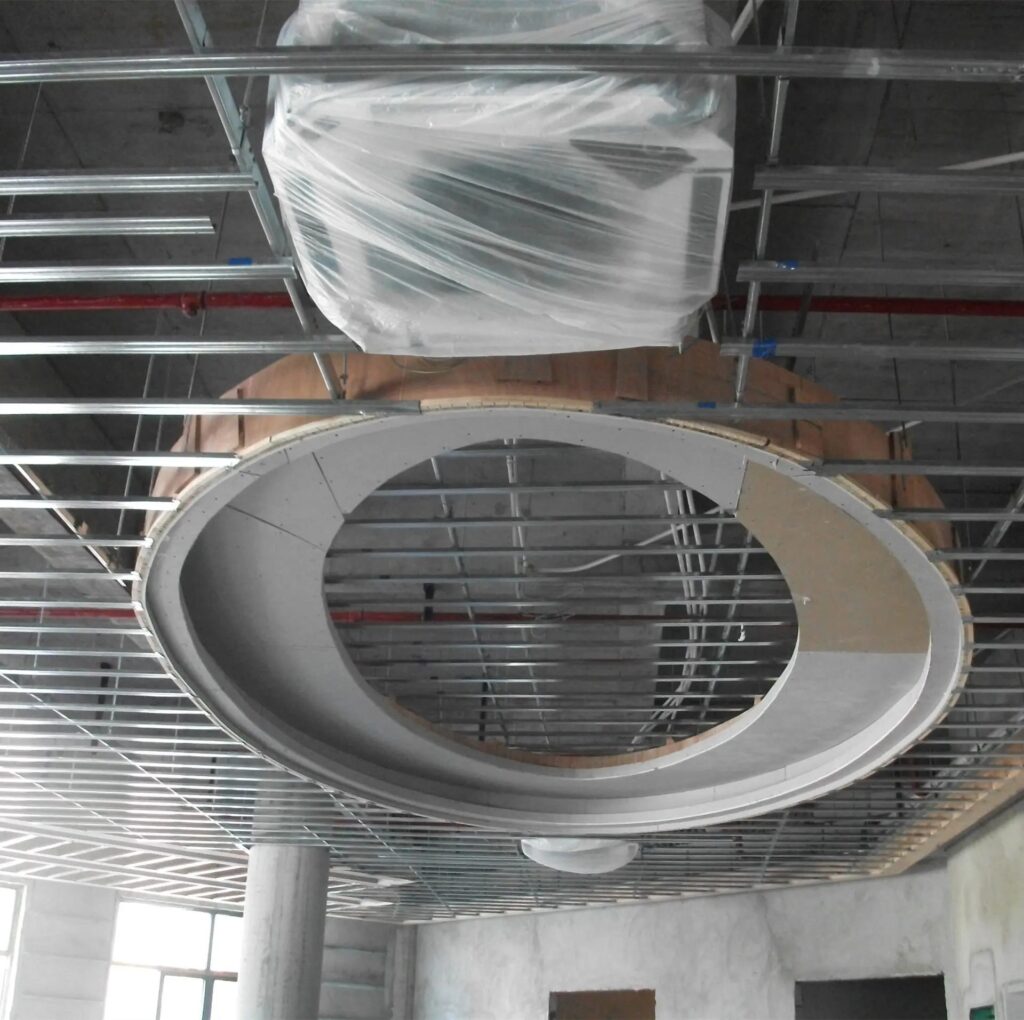
Let us discuss the potential issues with a suspended ceiling in terms of its appearance and durability. Gypsum board is one type of common material used in ceilings, but there are other options available that may be more suitable for certain applications. One issue that may arise with a gypsum board is the possibility of it cracking or breaking due to moisture damage or other factors. To address this problem, you could try using an elastic putty seam or adhesive nylon tape to fill in any cracks and prevent them from becoming larger. These materials can help to seal gaps between boards and provide additional support for the ceiling.
Other factors that may affect the appearance of a suspension ceiling include the use of different types of materials such as gesso board, ashboard, plywood, aluminum alloy gusset plates, plastic gusset plates, frosted glass, and painted glass. Each of these materials has its unique characteristics and may require different techniques for installation and maintenance. It’s important to choose a material that is appropriate for your specific needs and to take steps to ensure that it is installed properly to avoid future problems.
It’s important to properly complete all stages of the construction project, including site preparation, foundation work, framing, and the finishing touches. This ensures that the finished product is structurally sound with the proper safety measures in place.
To avoid any potential risks during construction, it’s crucial to have an experienced and qualified team working on the project. The contract should clearly outline the scope of work, timeline, and payment terms. It’s also essential to communicate regularly with contractors throughout the process to ensure they are meeting their obligations and addressing any issues that arise.
If any problems or issues are found after construction has been completed, it’s important to address them promptly to minimize the impact on both the owner and the contractor. Re-working the work can result in delays and additional costs for both parties involved. Therefore, it’s crucial to work collaboratively with your contractor to identify and resolve any issues as soon as possible to avoid further complications.